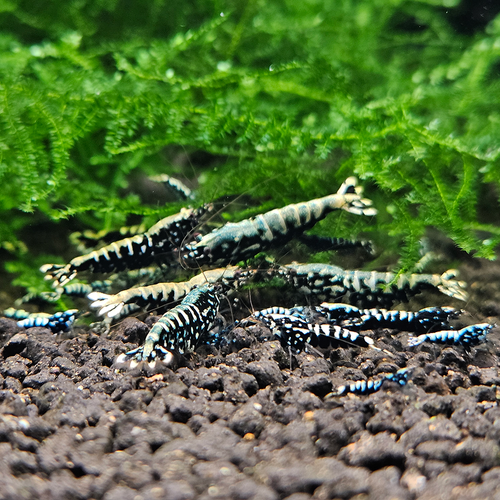


Setting Up a Caridina Cantonensis Shrimp Tank

Tank Requirements:
Active Soil
Remineralizer
Filter (sponge filter works great)
Bacteria
Plants and Wood
High Quality Food
Parameters for your Caridina tank:
GH: 4-6
KH: 0
TDS: 140-150 PPM
Temp: 68-74°
Setting up a Caridina tank:
First thing to consider when setting up your caridina tank is your water source. Most homes in the United States will not have the proper parameters to keep caridina shrimp. Caridina shrimp require very soft water, with a pH of under 7. This is why you must use an active soil, as it will keep your water slightly acidic. Use a quality remineralizer such as SL-Aqua Blue Wizard, or SaltyBee Premium GH+. Remineralize your aged water to around 150 ppm. Owning a
good TDS pen will make your remineralizing much easier. Aging water is important as you will want the water to come up to the room temperature that you keep your shrimp in, and also to let any co2 dissolve.
You will need to properly cycle any dwarf shrimp tank before adding your shrimp. I recommend planning on at least 2 months. Choosing the right soil for Caridina shrimp is very important. You need an active soil that buffers your waters ph down to around a ph of 6, give or take a little. I recommend ADA soil such as
Amazonia or
Amazonia Light, or
Akadama soil, which is a bonsai soil. Add substrate to tank, then add water. I like to use a dish to pour into, so I don't disrupt the soil too much. Add your
filter, turn everything on. Once everything is running, add the bacteria you chose (like
Seachem Stability or
Dr. Tims One and Only) and toss in a couple pieces of
shrimp food. You have the option to run your lights 24/7 to build algae, and some people have their lights on the normal schedule they plan on running with shrimp in the tank.
Come back a few days later and test your TDS. If it has fluctuated, do a 50% water change. After that, plan on 25% water changes once a week. After 2 months, you can now test your water. You will want to make sure there is no ammonia and no nitrites. If those both test at 0, do a 50% water change, assure your TDS is stable at ~150 PPM, GH of 4-6 KH of 0 and add your shrimp. Remember to add bacteria every time you do a water change.
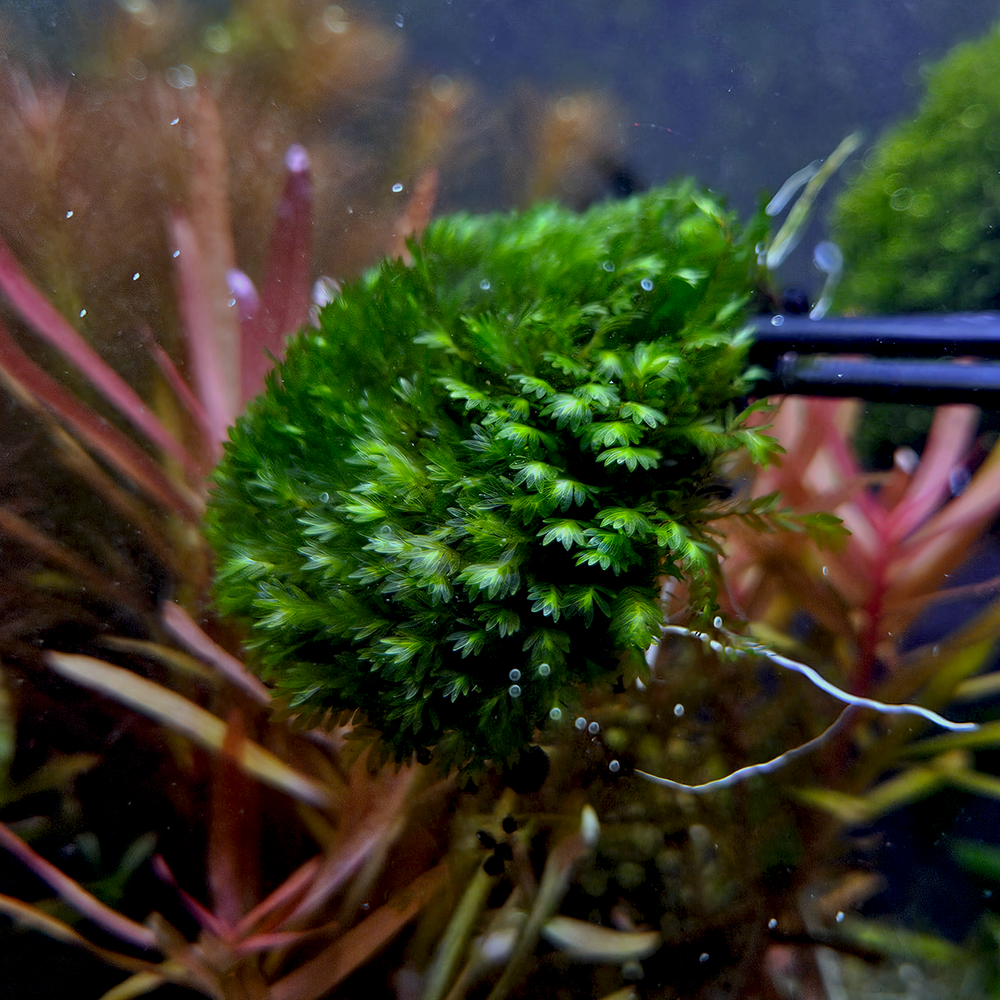
I like to plant my tank toward the end of the cycling process. At about 1.5/2 months I will add my moss, decorate it as I like. I like to add moss, java ferns, buce, and some floating plants. Plants are always a great addition to a shrimp tank, adding surfaces to grow biofilm, and also to utilize excess nutrients in the water.
Acclimating your new Shrimp:
When you are ready to add your shrimp, ALWAYS drip acclimate, and assure the temperature is the same. My drip acclimation process is simple. I open the bag and put the shrimp and the water in a pitcher. I like to test the TDS of the water the shrimp came in and compare to the water in their new tank. I take a strip of airline tubing long enough to go into the tank and out to drip into the container, and knot it. Once you get the siphon started, you can adjust how quickly it drips with the tightness of the knot. Once you are happy with about 2-3 drips per second (depending on how different your TDS is compared to what you're moving them from, doing it slower if you have a big difference in TDS) let it drip into the pitcher for as long as it takes to quadruple the amount of water you started with. At this point, I like to drain about half of that water out, and continue dripping water in at the same rate until you double that amount of water. Your shrimp are now ready to be added to their new aquarium!
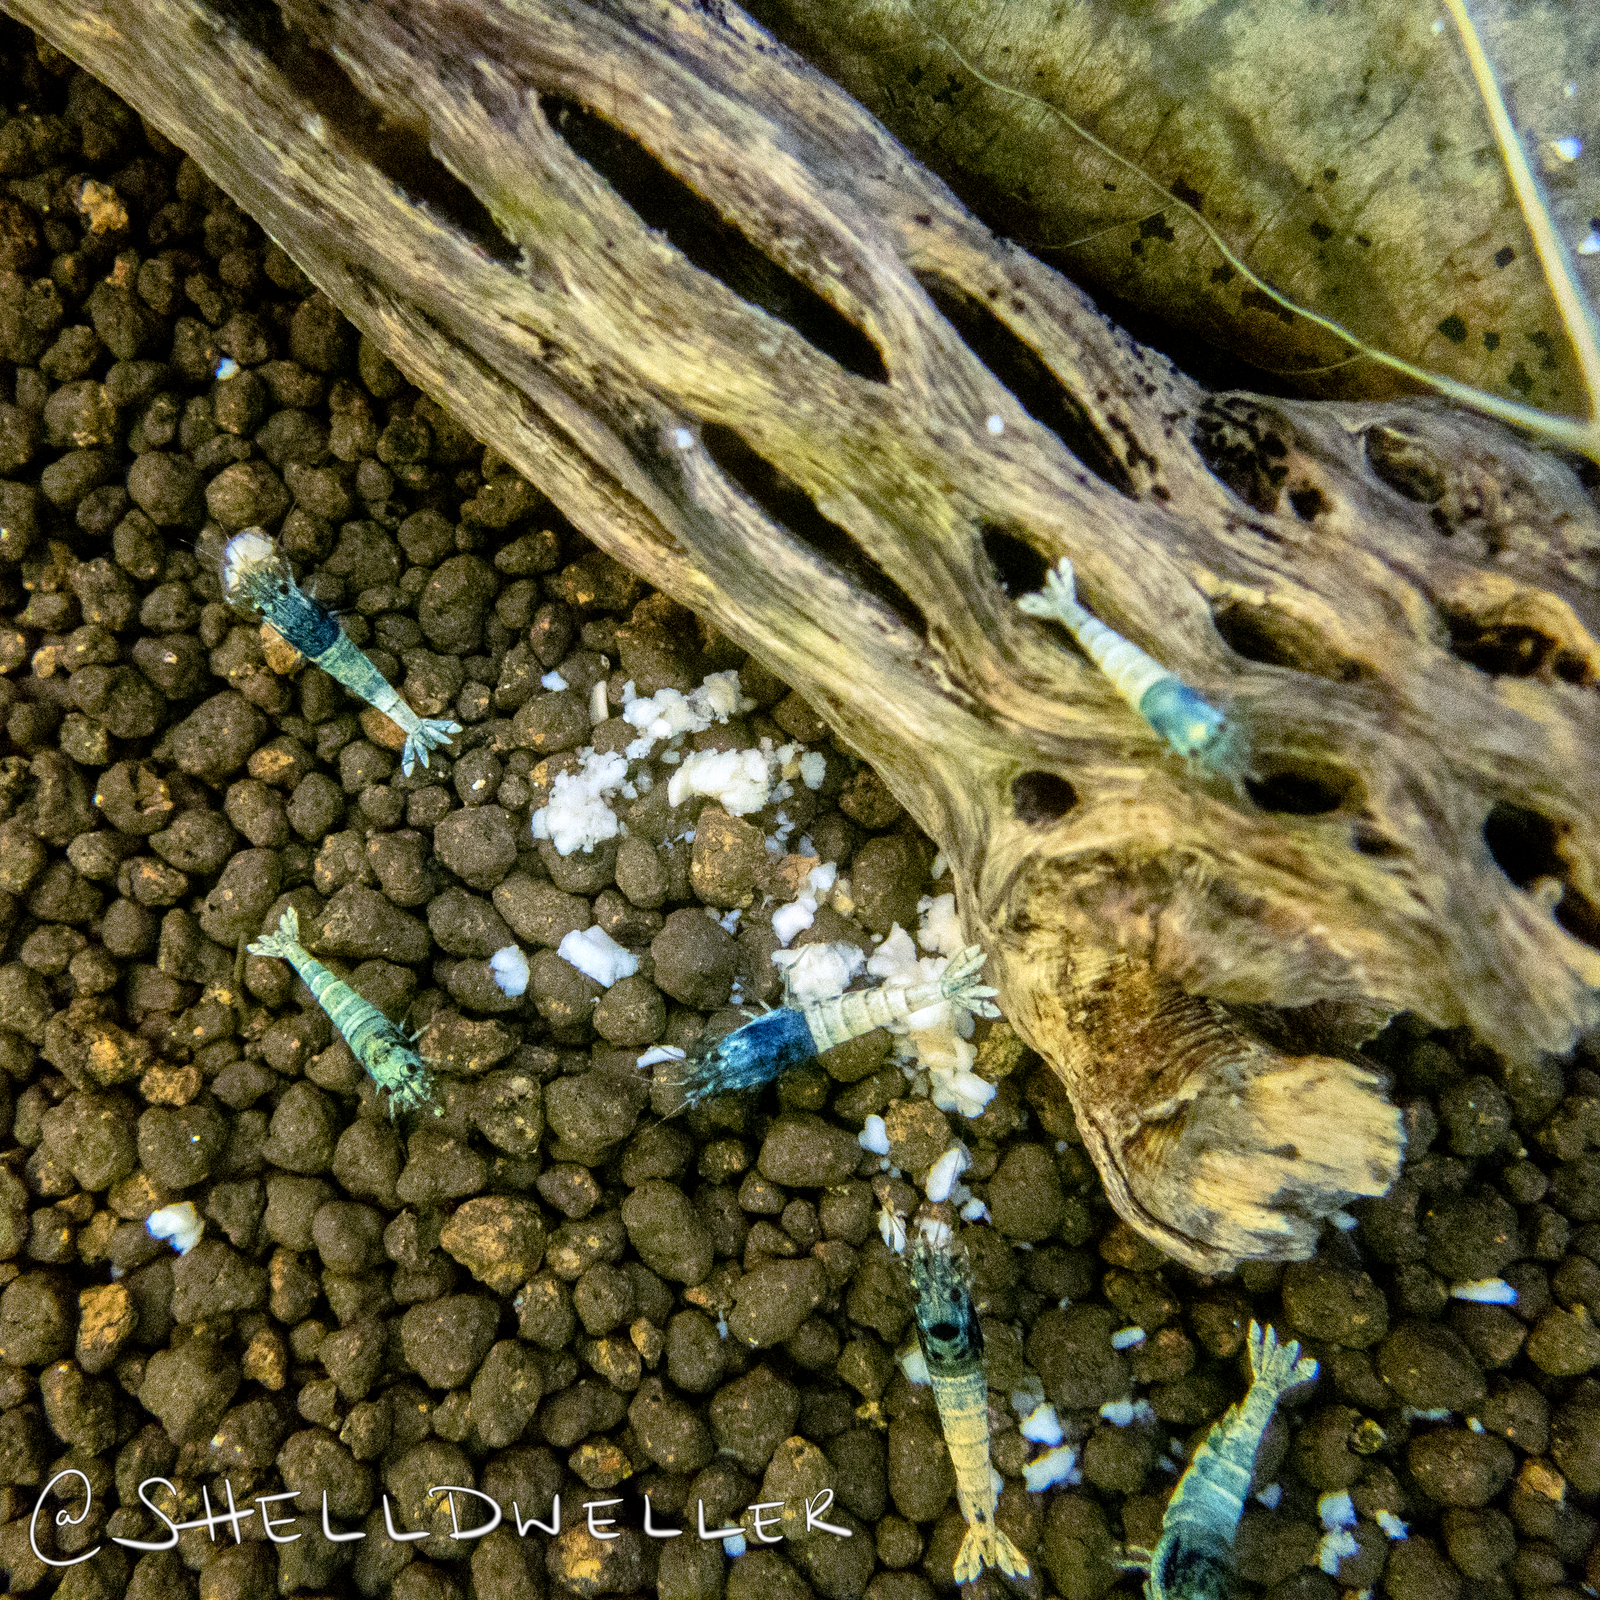
The Importance of Plants and Decor
Keeping Plants and Decor in your shrimp tank will keep your shrimp happy. More surface area for biofilm to grow is always beneficial, as this is mainly what young shrimp eat for their first few days of life (adults graze on it too). Plants will help reduce nitrates that your aquarium's bioload naturally produces, keeping water cleaner for your shrimp in between water changes, while also providing hiding places, and more surfaces to hang out in. Mosses are great for baby shrimp to hide in and graze on. Woods such as
Cholla Logs and
Driftwood provide hiding places, surfaces to graze on, and food as they break down. Leaves bring many benefits depending on what you're using. Leaves like
Indian Almond Leaves, Guava Leaves, and Oak Leaves provide a surface for biofilm to grow, and also food as they break down. Indian Almond Leaves (IAL) provide tannins which are very beneficial to shrimp, but if you don't like the black water look, Oak Leaves are a diluted version of IAL, and do not stain your water like IAL. Mulberry Leaves and other fruit leaves are actually a great food source in themselves. Mulberry Leaves are naturally high in protein, vitamins, and minerals essential to shrimp and are great to put in your tank if you are planning on being gone for a few days.
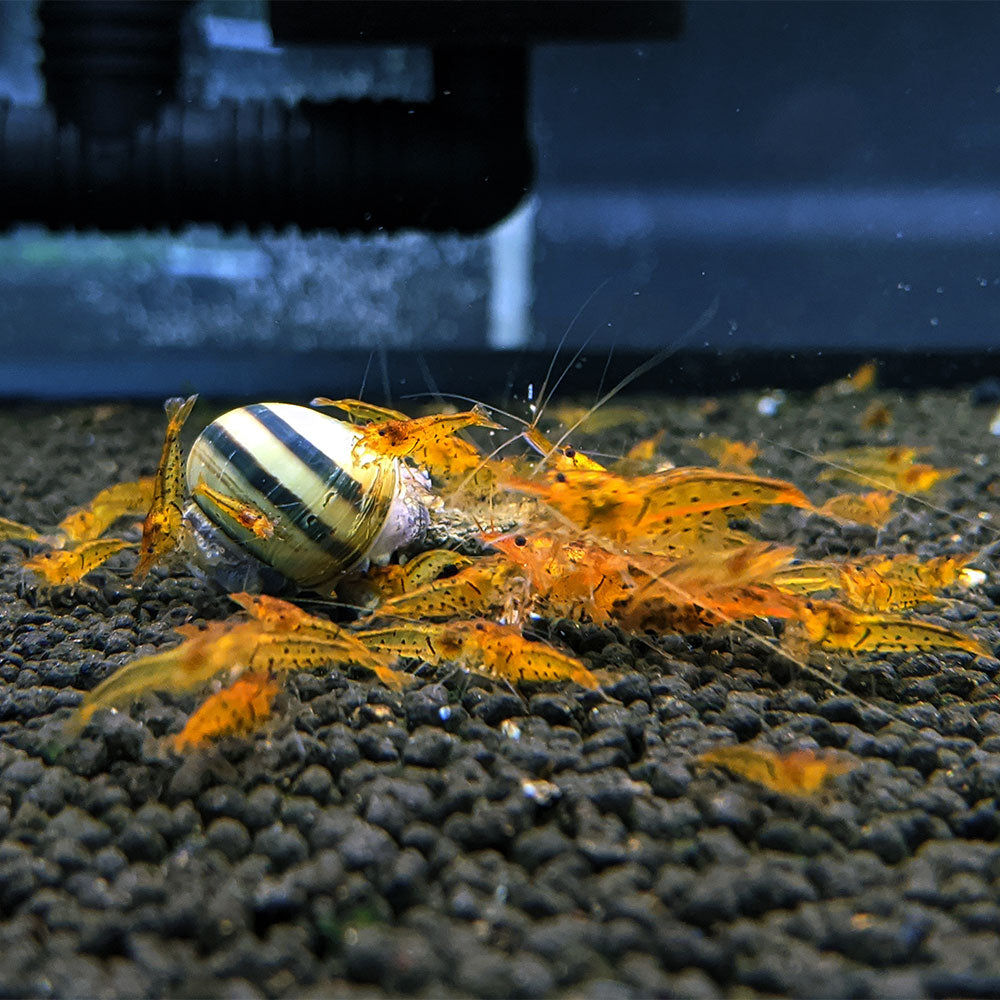
Quality Foods
Providing your shrimps with quality food is very important! We always suggest
Pure Nordic Shrimp Foods to feed your shrimp. A base line is to feed a good every day food most of the time, offering variations to add protein, vitamins, and minerals. Always give your shrimp one or two days a week off from feeding (This will give them time to clean their tank up, eating on the algae and biofilm in your tank)
Always Ask Questions
Don't be afraid to ask questions! No question is silly, and you will only learn from asking it!
Join us on Discord, where we talk all about aquarium shrimp keeping and other aquarium related topics. Also, you are always welcome to email me at shelly@luckyaquatics.com